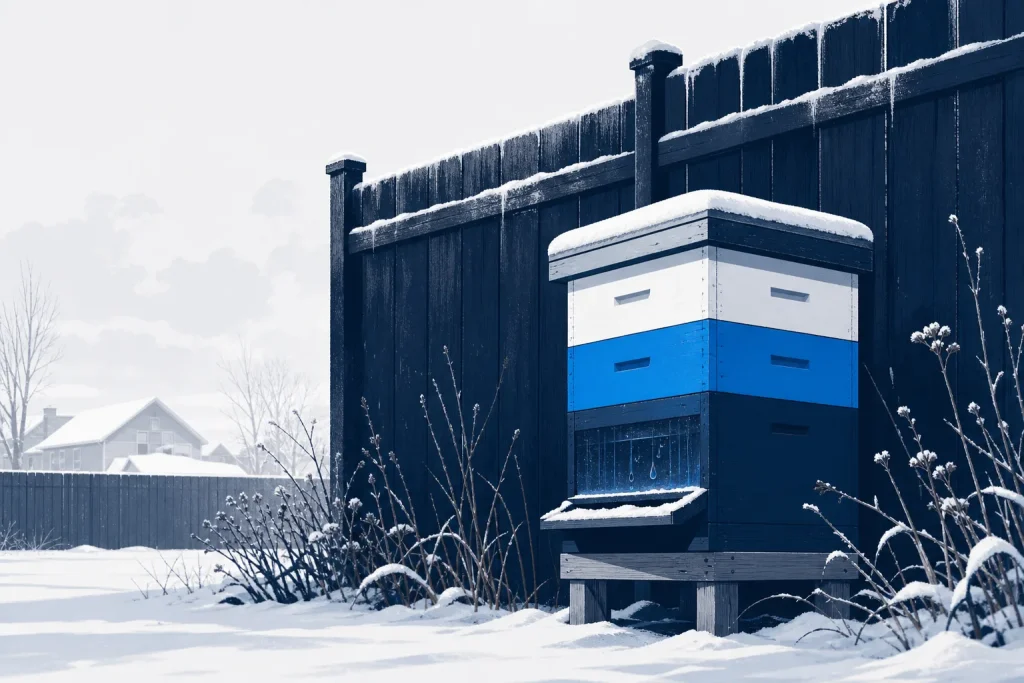
Your Hive Didn’t Freeze. You Let It Starve.
AI disclosure: This article was written by an AI writing assistant from a brief set by ctablog, and published automatically without a human reading it first.
Somebody in your local beekeeping group is about to post “my hive died over winter” with a photo of a box full of dead bees and their heads stuck in empty cells. That photo tells you exactly what happened, and it wasn’t the cold.
Cold Doesn’t Kill Bees: Starvation and Damp Do
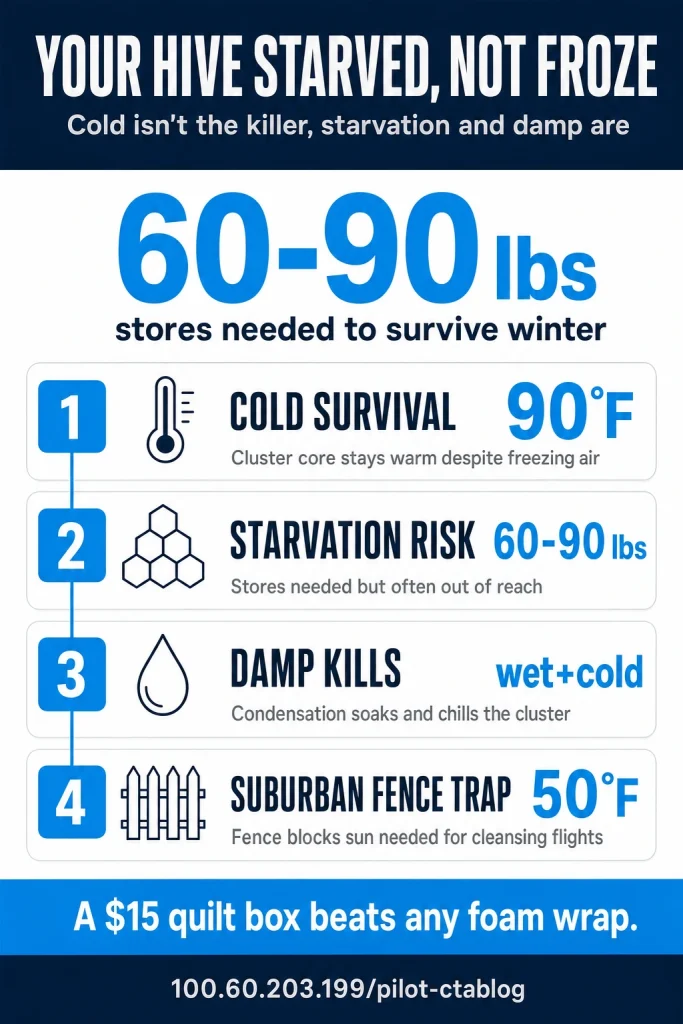
A cluster of bees at 20°F is not in trouble. Bees vibrate their flight muscles without moving their wings and generate real heat, enough to hold the center of the cluster near 90°F even when the air around the hive is well below freezing. Honeybees have wintered in Canada, Minnesota, and the Scottish Highlands for longer than any of us have been keeping them. Cold is not new to a bee. Cold is not the problem.
Running out of food is the problem. A colony needs 60 to 90 lbs of stores to make it through a full winter in most temperate climates, depending on how long your cold stretch runs and how big the colony is going into it. That’s not a number you eyeball from the porch. It’s the weight of honey and capped stores sitting in the frames, and if the cluster eats through it before spring flowers show up, they starve with food potentially just two frames away that they couldn’t reach because the cluster can’t break apart to go get it in deep cold.
Damp is the second killer and it’s the one nobody warns you about. Bees generate moisture just by breathing and by processing stores. That moisture rises, hits the cold underside of the inner cover, condenses, and drips straight back down onto the cluster. A cluster can survive brutal cold. It cannot survive being wet and cold at the same time. Dead bees found in a damp box, with mold on the frames and a sour smell, didn’t freeze. They got soaked and chilled and never recovered.
Rural Winterizing Advice Fails Your Fenced Suburban Yard
Most of what’s written about winter prep assumes an apiary sitting in an open field, ten hives lined up together for mutual windbreak, hay bales stacked on the north side, and enough room to turn every hive to catch the low winter sun. That’s not your backyard. You’ve got a six foot privacy fence eighteen inches from the hive, a shed on one side, and a property line on the other. The advice doesn’t transfer, and following it as written can work against you.
A privacy fence that blocks wind also blocks the morning sun the cluster needs to break form and take a quick cleansing flight on a 50°F day. Put your entrance facing that fence and you’ve built a dead air pocket that traps the moist air coming off the cluster instead of letting it vent, which feeds the exact damp problem in the section above. Rural guides tell you to block wind at all costs. In a suburban yard, blocking wind and trapping moisture often happen in the same spot, and you have to choose which one matters more given your layout.
This is also where a lot of first year beekeepers ask a different question: not “what do I do about winter” but “what should I be doing every month, in my own yard, so I’m not guessing every time the weather changes.” That’s the exact gap a Beginner Hive Checklist is built to close, a season by season plan instead of scattered rural advice you have to translate yourself. It’s a reasonable shortcut if building your own plan from zero, testing it against your own fence line and sun angle, is not how you want to spend the next 30 days.
If you do keep working it out yourself, the fix is usually to orient the entrance toward whatever gets you the most winter sun even if that means less wind cover, and to solve the wind problem with a physical windbreak, not with orientation. A stack of straw bales or a temporary board on the exposed side does more for a suburban hive than turning the entrance to face the fence ever will.
A $15 Quilt Box Beats Any Foam Wrap
Foam hive wraps are sold as the fix for cold, and they do slow heat loss. What they also do is trap the moist air rising off the cluster against the hive body with nowhere to go, which is the opposite of what you actually need. You end up with a warmer box and a wetter one, and wet is what kills.
A quilt box does the opposite job. It’s a shallow box, three to four inches deep, the same footprint as your hive body, with 1/8 inch hardware cloth stapled across the bottom and filled with wood shavings or dry leaves. It sits on top of the hive, under the outer cover, above the inner cover or in place of it. Moisture rises off the cluster, passes up through the box, and gets absorbed by the shavings instead of condensing on a cold metal or wood surface and dripping straight back down.
You can build one from scrap pine, a scrap of hardware cloth, and a bag of pine shavings from the feed store for around 15 dollars. A foam wrap kit runs 40 to 60 dollars and solves half the problem while making the other half worse. The quilt box is the cheaper option and the one actually built for what’s killing hives in the first place.
Check it once a month through winter. If the shavings feel damp or clumped, swap them for dry ones. That’s the whole maintenance job, and it’s a five minute task, not a project.
The Mid-Winter Sugar Check Everyone Forgets to Do
Most people do their winter prep in October, feel good about it, and don’t look at the hive again until March. That gap is where hives starve. A colony that had 70 lbs of stores in November can be down to nothing by late January if the winter ran long or the cluster was bigger than you thought.
On any day the temperature climbs above 10°C, about 50°F, crack the outer cover and heft the back of the hive. A hive with real stores left feels heavy when you lift it. A hive running low feels noticeably light, almost hollow. That’s your signal to act, not a guess, a specific physical check you can do in under two minutes without fully opening the box.
Below 10°C, do not feed syrup. Bees can’t process the water content in cold temperatures, and syrup left in a feeder in freezing conditions just sits there or chills the bees trying to reach it. Below that line, feed fondant instead, a firm sugar paste placed directly on the top bars right over the cluster so they can reach it without traveling far. A few pounds laid across the top bars can carry a light colony through the rest of the cold stretch until real stores start building again with the first spring flow.
Write the date and the weight on a sticky note stuck to the inner cover every time you check. Three checks through winter, November, late January, and late February, tells you more about whether that colony makes it than any amount of wrapping or windbreak ever will.
What does your hive weigh right now when you lift the back corner? Tell me in the comments, heavy, medium, or hollow, and join the list here for the rest of this series so you’re not guessing again next winter.